In today’s fast-paced world, finding time for a luxurious spa treatment can be challenging. However, with the right knowledge and tools, you can bring the spa experience home. One such indulgence is the O3 facial, a popular skincare treatment known for its deep cleansing and rejuvenating effects. In this blog post, we’ll explore the benefits of an O3 facial and provide a step-by-step guide on how to perform it in the comfort of your own home.
Understanding the O3 Facial
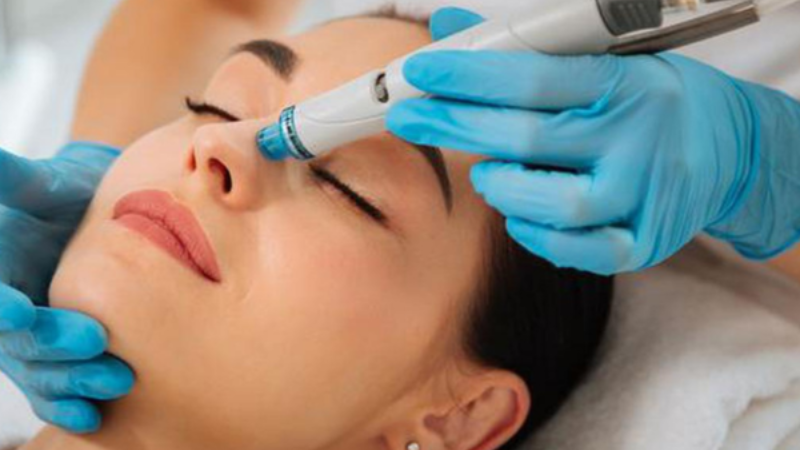
An O3 facial, also known as an ozone facial or ozone therapy facial, harnesses the power of ozone (O3) to promote healthier, clearer skin. Ozone is a naturally occurring gas composed of three oxygen atoms. When applied topically, ozone has powerful antibacterial, antiviral, and anti-inflammatory properties, making it an excellent addition to any skincare routine.
Benefits of an O3 Facial
Deep Cleansing:
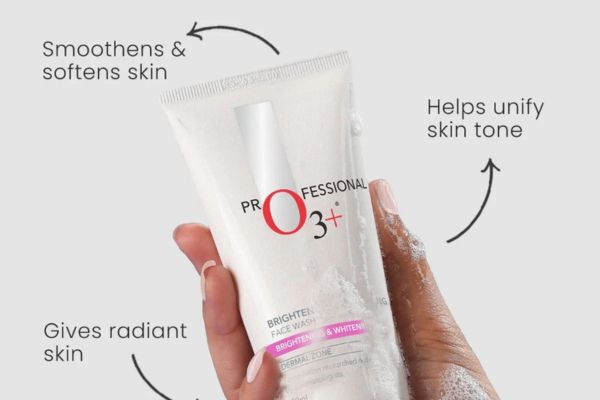
Ozone helps to purify the skin by eliminating toxins, bacteria, and impurities from the pores, resulting in a clearer complexion and reduced breakouts.
Improved Circulation:

Ozone stimulates blood circulation, which promotes oxygen and nutrient delivery to the skin cells, leading to a healthier, more radiant complexion.
Anti-Aging Effects:
Ozone therapy can help reduce the appearance of fine lines and wrinkles by promoting collagen production and improving skin elasticity.
Acne Treatment:
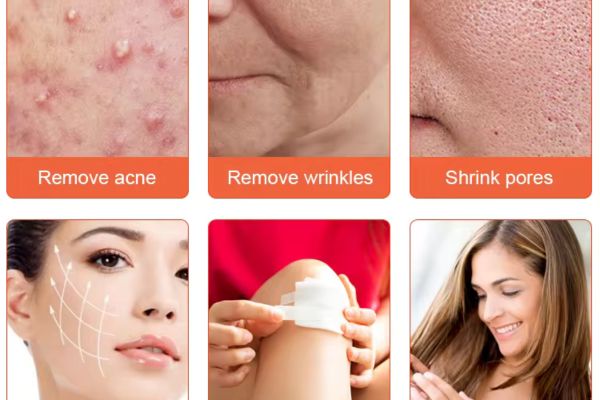
Ozone’s antibacterial properties make it effective in treating acne by killing acne-causing bacteria and reducing inflammation.
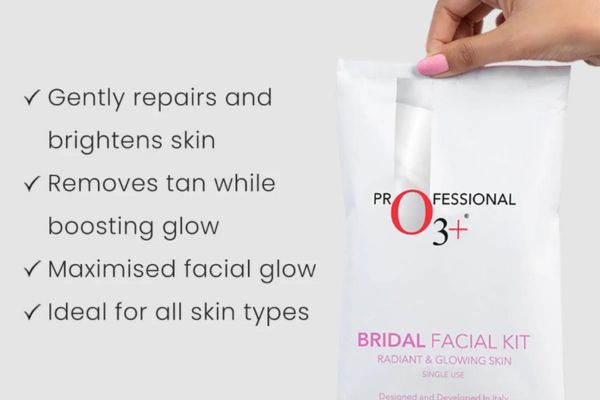
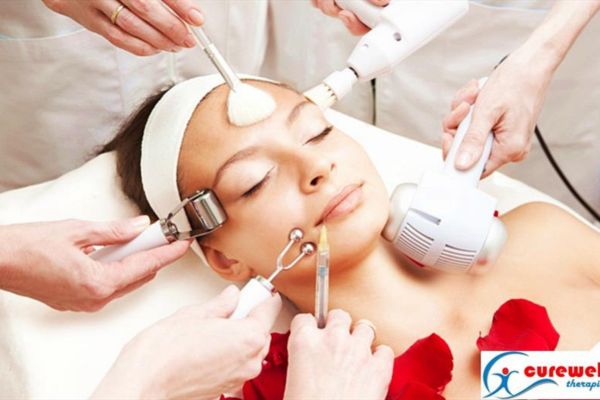
Skin Rejuvenation:

Regular O3 facials can help rejuvenate dull, tired-looking skin, leaving it refreshed, revitalized, and glowing.
Improved Skin Health:

By oxygenating the skin and promoting circulation, ozone therapy helps to nourish and rejuvenate the skin from within, leading to improved overall skin health and vitality.
How to Perform an O3 Facial at Home
Step 1: Cleanse Your Skin

Start by thoroughly cleansing your face to remove any makeup, dirt, and impurities. Use a gentle cleanser suited to your skin type and rinse with lukewarm water.
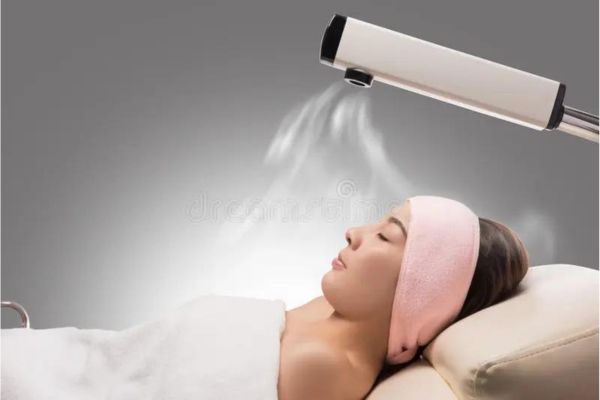
Step 2: Steam Your Face

Fill a bowl with hot water and lean over it with a towel draped over your head to trap the steam. Steam your face for 5-10 minutes to open up the pores and prepare your skin for the ozone treatment.
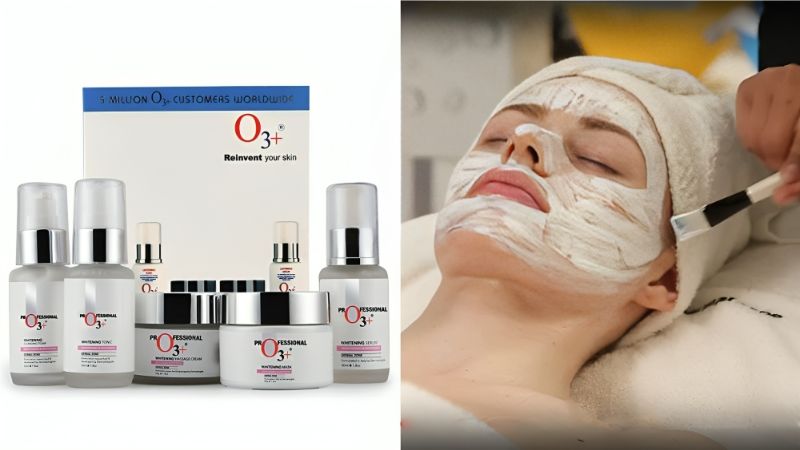
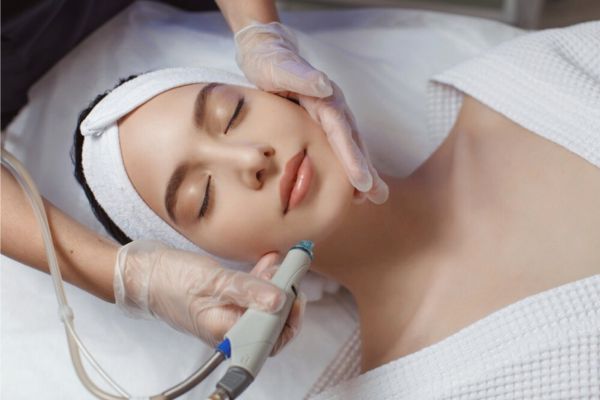
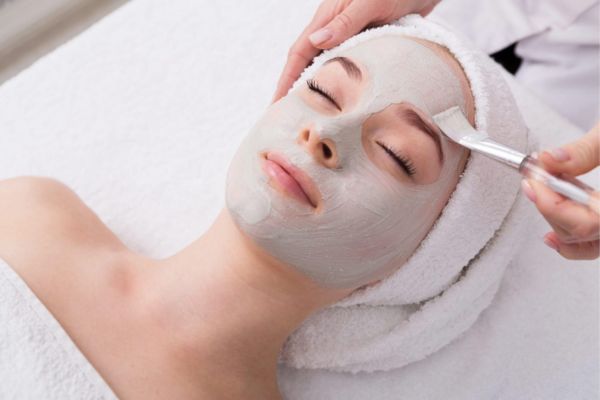
Step 3: Apply Ozone Treatment
Apply an ozone-infused skincare product or ozone generator to your skin according to the manufacturer’s instructions. Gently massage the ozone treatment into your face and neck, focusing on problem areas if needed.
Step 4: Allow Absorption
Let the ozone treatment absorb into your skin for the recommended time, typically 10-15 minutes. During this time, you may feel a slight tingling sensation, which is normal.
Step 5: Rinse and Moisturize
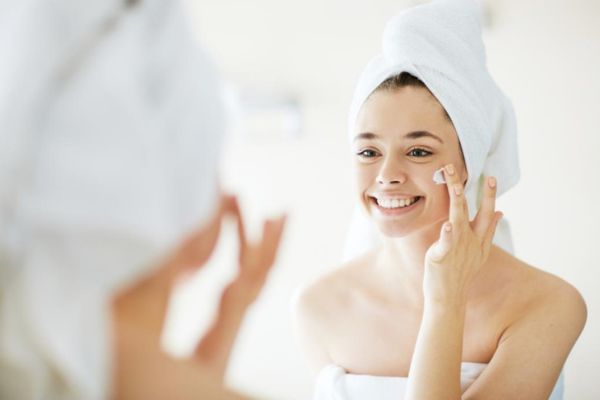
After the treatment period, rinse your face with cool water to close the pores. Follow up with your favorite moisturizer to lock in hydration and keep your skin soft and supple.
Step 6: Repeat Regularly

For optimal results, incorporate the O3 facial into your skincare routine on a weekly or bi-weekly basis. Consistency is key to achieving and maintaining healthy, radiant skin.
Final Thoughts
An O3 facial offers a multitude of benefits for the skin, from deep cleansing and acne treatment to anti-aging and rejuvenation. By following the simple steps outlined above, you can enjoy the spa-like experience of an O3 facial in the comfort of your own home. So why not treat yourself to some self-care and give your skin the love and attention it deserves? Your complexion will thank you for it!